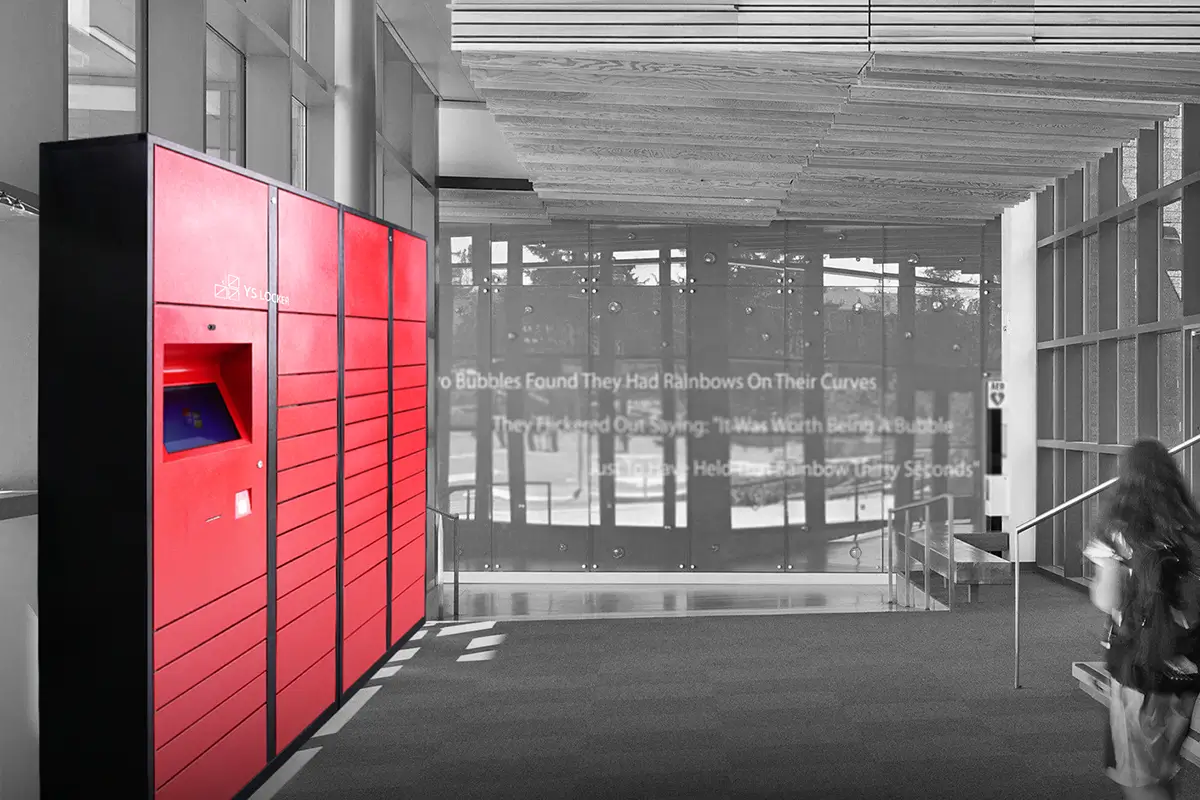
Installing takeaway lockers can vary in complexity depending on the specific system and setup. However, many modern takeaway locker systems are designed to be relatively easy to install. Here’s a breakdown of the typical installation process and factors that can affect ease of installation:
Typical Installation Process
1. Site Assessment and Preparation
Space Measurement: Measure the space where the lockers will be installed to ensure a proper fit.
Power Supply Check: Ensure there is an adequate power supply if the lockers require electricity for digital locks, lighting, or other features.
Internet Connectivity: For smart lockers, verify that there is a stable internet connection for any required software updates or monitoring.
2. Delivery and Unpacking
Receiving the Lockers: Arrange for the delivery of the locker units. Ensure there is enough space to unload and move them to the installation site.
Unpacking: Carefully unpack the lockers and inspect them for any damage during transit.
3. Assembly (if required)
Modular Components: Some lockers come in modular components that need to be assembled on-site. Follow the manufacturer’s instructions for assembly.
Tools and Hardware: Ensure you have the necessary tools and hardware for assembly, such as screws, brackets, and a power drill.
4. Positioning and Securing
Placement: Position the lockers in the designated area. Ensure they are level and aligned correctly.
Securing: Secure the lockers to the wall or floor if required. This may involve bolting the units for added stability and security.
5. Electrical and Connectivity Setup
Power Connection: Plug in the lockers if they require electricity. Ensure the wiring is done safely and meets local electrical codes.
Internet Setup: Connect the lockers to the internet if they are smart lockers. This may involve connecting to Wi-Fi or running Ethernet cables.
6. Software Configuration
Initial Setup: Follow the manufacturer’s instructions to set up the locker software. This might include creating user accounts, setting access controls, and configuring notifications.
Testing: Test the system to ensure all lockers are functioning correctly, locks are working, and software is properly configured.
7. Final Checks and Training
Inspection: Perform a final inspection to ensure everything is secure and operational.
User Training: Provide training for staff on how to use the lockers, manage the system, and troubleshoot common issues.
Factors Affecting Ease of Installation
1. Locker Type
Pre-Assembled vs. Modular: Pre-assembled lockers are easier to install as they only need to be positioned and secured, whereas modular lockers require more assembly.
Digital vs. Manual: Digital lockers with electronic locks and software systems might require more setup compared to manual lockers.
2. Location
Indoor vs. Outdoor: Installing lockers outdoors may require additional considerations for weatherproofing and securing against theft.
Space Constraints: Tight or awkward spaces can make installation more challenging.
3. Connectivity Requirements
Wired vs. Wireless: Wired systems may need more effort for running cables, while wireless systems depend on a strong and reliable Wi-Fi signal.
4. Vendor Support
Installation Services: Some manufacturers or suppliers offer installation services, which can greatly simplify the process.
Instructions and Documentation: Comprehensive and clear installation instructions can make the process smoother.
Conclusion
Installing takeaway lockers is generally a straightforward process, especially with systems designed for ease of installation. By following the manufacturer’s guidelines and considering the specific requirements of your location and locker type, you can ensure a successful and efficient installation. If the process seems complex, seeking professional installation services from the vendor can be a worthwhile investment to ensure everything is set up correctly.


